Integration
Oct 14, 2025
·
6
minutes read


Writing RPA scripts by hand is tedious. You click somewhere, note the coordinates, write the code, test it, realize you got the timing wrong, adjust, test again. It's slow, error-prone, and by the time you're done, you've forgotten half the steps.
There's a better way: record your actions first, then convert them to code.
This approach lets you perform the task manually once while capturing every click and keystroke. Then you label what you did, feed it to an LLM, and get a working Python script. It's faster, more accurate, and gives you a reference for what the automation should actually do.
Here's how to build this workflow.
When you're building desktop automation, you need to know:
Trying to figure this all out while writing code is like trying to write directions to somewhere you've never been. You're guessing at coordinates, guessing at timing, and testing constantly.
Recording first, then coding, flips this around. You perform the task once while the computer watches, then you review what happened and turn it into automation.
The core of this approach is recording your mouse and keyboard activity. You need a lightweight keylogger/action recorder that captures:
Here's a simple recorder using pynput:
from pynput import mouse, keyboard
from datetime import datetime
import json
from pathlib import Path

class ActionRecorder:
    def __init__(self, output_file="recording.json"):
        self.output_file = output_file
        self.actions = []
        self.recording = False
        self.start_time = None

    def on_click(self, x, y, button, pressed):
        """Record mouse clicks"""
        if not self.recording or not pressed:
            return

        elapsed = (datetime.now() - self.start_time).total_seconds()

        self.actions.append({
            'type': 'click',
            'x': x,
            'y': y,
            'button': str(button),
            'timestamp': elapsed,
            'label': ''  # Will be filled in later
        })

        print(f"[{elapsed:.2f}s] Click at ({x}, {y}) with {button}")

    def on_press(self, key):
        """Record keyboard presses"""
        if not self.recording:
            # Start/stop recording with F9
            if key == keyboard.Key.f9:
                if self.start_time is None:
                    self.start_recording()
                else:
                    self.stop_recording()
            return

        elapsed = (datetime.now() - self.start_time).total_seconds()

        try:
            key_char = key.char
        except AttributeError:
            key_char = str(key)

        self.actions.append({
            'type': 'keypress',
            'key': key_char,
            'timestamp': elapsed,
            'label': ''
        })

        print(f"[{elapsed:.2f}s] Key press: {key_char}")

    def start_recording(self):
        """Start recording actions"""
        print("=" * 50)
        print("Recording started! Press F9 to stop.")
        print("=" * 50)
        self.recording = True
        self.start_time = datetime.now()
        self.actions = []

    def stop_recording(self):
        """Stop recording and save"""
        print("=" * 50)
        print("Recording stopped!")
        print(f"Captured {len(self.actions)} actions")
        print("=" * 50)

        self.recording = False
        self.save_actions()

    def save_actions(self):
        """Save recorded actions to JSON"""
        with open(self.output_file, 'w') as f:
            json.dump(self.actions, f, indent=2)

        print(f"Actions saved to {self.output_file}")

    def run(self):
        """Start the recorder"""
        print("Action Recorder Ready")
        print("Press F9 to start/stop recording")

        # Set up listeners
        mouse_listener = mouse.Listener(on_click=self.on_click)
        keyboard_listener = keyboard.Listener(on_press=self.on_press)

        mouse_listener.start()
        keyboard_listener.start()

        # Keep running
        keyboard_listener.join()

if __name__ == '__main__':
    recorder = ActionRecorder('my_recording.json')
    recorder.run()
Install dependencies:
pip install pynput
Usage:
python recorder.pymy_recording.jsonAfter recording a simple task (opening Notepad and typing something), your JSON looks like:
[
  {
    "type": "keypress",
    "key": "Key.cmd",
    "timestamp": 0.5,
    "label": ""
  },
  {
    "type": "keypress",
    "key": "n",
    "timestamp": 0.6,
    "label": ""
  },
  {
    "type": "keypress",
    "key": "o",
    "timestamp": 0.7,
    "label": ""
  },
  {
    "type": "keypress",
    "key": "t",
    "timestamp": 0.8,
    "label": ""
  },
  {
    "type": "click",
    "x": 450,
    "y": 320,
    "button": "Button.left",
    "timestamp": 3.2,
    "label": ""
  },
  {
    "type": "keypress",
    "key": "H",
    "timestamp": 4.1,
    "label": ""
  },
  {
    "type": "keypress",
    "key": "e",
    "timestamp": 4.2,
    "label": ""
  }
]
This is raw data not very useful yet. The magic happens in the next step.
Raw coordinates and keystrokes are meaningless without context. You need to review the recording and label what each action represents.
This is the thought loop:
Build a simple script to help you add labels:
import json
from pathlib import Path

def label_recording(recording_file):
    """Interactive labeling of recorded actions"""

    with open(recording_file, 'r') as f:
        actions = json.load(f)

    print(f"Loaded {len(actions)} actions from {recording_file}")
    print("=" * 60)
    print("Add labels to describe what each action does")
    print("Press Enter to skip an action")
    print("=" * 60)

    for idx, action in enumerate(actions):
        print(f"\nAction {idx + 1}/{len(actions)}:")
        print(f"  Type: {action['type']}")
        print(f"  Time: {action['timestamp']:.2f}s")

        if action['type'] == 'click':
            print(f"  Position: ({action['x']}, {action['y']})")
            print(f"  Button: {action['button']}")
        elif action['type'] == 'keypress':
            print(f"  Key: {action['key']}")

        # Get label from user
        label = input("  Label (describe what this does): ").strip()

        if label:
            action['label'] = label
        else:
            action['label'] = f"Step {idx + 1}"

    # Save labeled recording
    output_file = recording_file.replace('.json', '_labeled.json')
    with open(output_file, 'w') as f:
        json.dump(actions, f, indent=2)

    print(f"\n✓ Labeled recording saved to {output_file}")
    return output_file

if __name__ == '__main__':
    labeled_file = label_recording('my_recording.json')
Example labeling session:
Action 1/7:
  Type: keypress
  Key: Key.cmd
  Time: 0.50s
  Label: Open Windows start menu

Action 2/7:
  Type: keypress
  Key: n
  Time: 0.60s
  Label: (skip - part of typing "notepad")

Action 3/7:
  Type: keypress
  Key: o
  Time: 0.70s
  Label: (skip)

Action 4/7:
  Type: keypress
  Key: t
  Time: 0.80s
  Label: (skip)

Action 5/7:
  Type: click
  Position: (450, 320)
  Button: Button.left
  Time: 3.20s
  Label: Click in notepad text area

Action 6/7:
  Type: keypress
  Key: H
  Time: 4.10s
  Label: Type "Hello"
After labeling, your JSON becomes:
[
  {
    "type": "keypress",
    "key": "Key.cmd",
    "timestamp": 0.5,
    "label": "Open Windows start menu"
  },
  {
    "type": "keypress",
    "key": "n",
    "timestamp": 0.6,
    "label": "Type 'notepad' to search"
  },
  {
    "type": "click",
    "x": 450,
    "y": 320,
    "button": "Button.left",
    "timestamp": 3.2,
    "label": "Click in notepad text area"
  },
  {
    "type": "keypress",
    "key": "H",
    "timestamp": 4.1,
    "label": "Type 'Hello' message"
  }
]
Now you have semantic meaning attached to low-level actions.
This is where the magic happens. Feed your labeled recording to an LLM and get a Python script.
import anthropic
import json

def generate_rpa_script(labeled_recording_file, output_script_file="automation.py"):
    """Use Claude to convert labeled recording to Python script"""

    # Load labeled recording
    with open(labeled_recording_file, 'r') as f:
        actions = json.load(f)

    # Create prompt
    prompt = f"""
I have a recording of desktop actions that I want to convert into a Python RPA script using pyautogui.

Here are the recorded actions with labels describing what each does:

{json.dumps(actions, indent=2)}

Please create a Python script that:
1. Uses pyautogui for automation
2. Groups related actions into well-named functions
3. Adds appropriate time.sleep() delays between actions
4. Includes error handling
5. Has clear comments explaining each step
6. Starts and ends in a clean state (closes any windows opened)

Important notes:
- Prefer keyboard shortcuts over coordinate-based clicks when possible
- Add logging to track progress
- Make functions reusable
- Include a main() function that orchestrates everything

Generate a complete, working Python script.
"""

    # Call Claude
    client = anthropic.Anthropic(api_key="your-api-key")

    message = client.messages.create(
        model="claude-sonnet-4-20250514",
        max_tokens=4000,
        messages=[
            {"role": "user", "content": prompt}
        ]
    )

    # Extract Python code from response
    script_content = message.content[0].text

    # Save to file
    with open(output_script_file, 'w') as f:
        f.write(script_content)

    print(f"✓ Python script generated: {output_script_file}")
    return output_script_file

# Usage
generate_rpa_script('my_recording_labeled.json', 'notepad_automation.py')
Claude might generate something like:
import pyautogui
import time
import logging

# Set up logging
logging.basicConfig(level=logging.INFO, format='%(asctime)s - %(message)s')

def open_notepad():
    """Open Notepad application"""
    logging.info("Opening Notepad")

    # Press Windows key
    pyautogui.press('win')
    time.sleep(0.5)

    # Type 'notepad' to search
    pyautogui.write('notepad')
    time.sleep(0.5)

    # Press Enter to launch
    pyautogui.press('enter')
    time.sleep(2)  # Wait for Notepad to open

    logging.info("Notepad opened")

def type_message(message):
    """Type a message in the active text area"""
    logging.info(f"Typing message: {message}")

    # Click in text area to ensure focus (using recorded coordinates)
    pyautogui.click(450, 320)
    time.sleep(0.3)

    # Type the message
    pyautogui.write(message)
    time.sleep(0.5)

    logging.info("Message typed")

def close_notepad():
    """Close Notepad without saving"""
    logging.info("Closing Notepad")

    # Alt+F4 to close
    pyautogui.hotkey('alt', 'f4')
    time.sleep(0.5)

    # Don't save (press 'n' for No)
    pyautogui.press('n')
    time.sleep(0.5)

    logging.info("Notepad closed")

def main():
    """Main automation workflow"""
    try:
        logging.info("Starting automation")

        # Ensure we start in a clean state
        close_all_notepads()  # Helper to close any existing instances

        # Perform the automation
        open_notepad()
        type_message("Hello from RPA!")

        # End in a clean state
        close_notepad()

        logging.info("Automation completed successfully")

    except Exception as e:
        logging.error(f"Automation failed: {e}")
        # Try to clean up
        close_notepad()
        raise

def close_all_notepads():
    """Ensure no Notepad windows are open"""
    # Implementation to close any existing Notepad windows
    pass

if __name__ == '__main__':
    main()
What the LLM did:
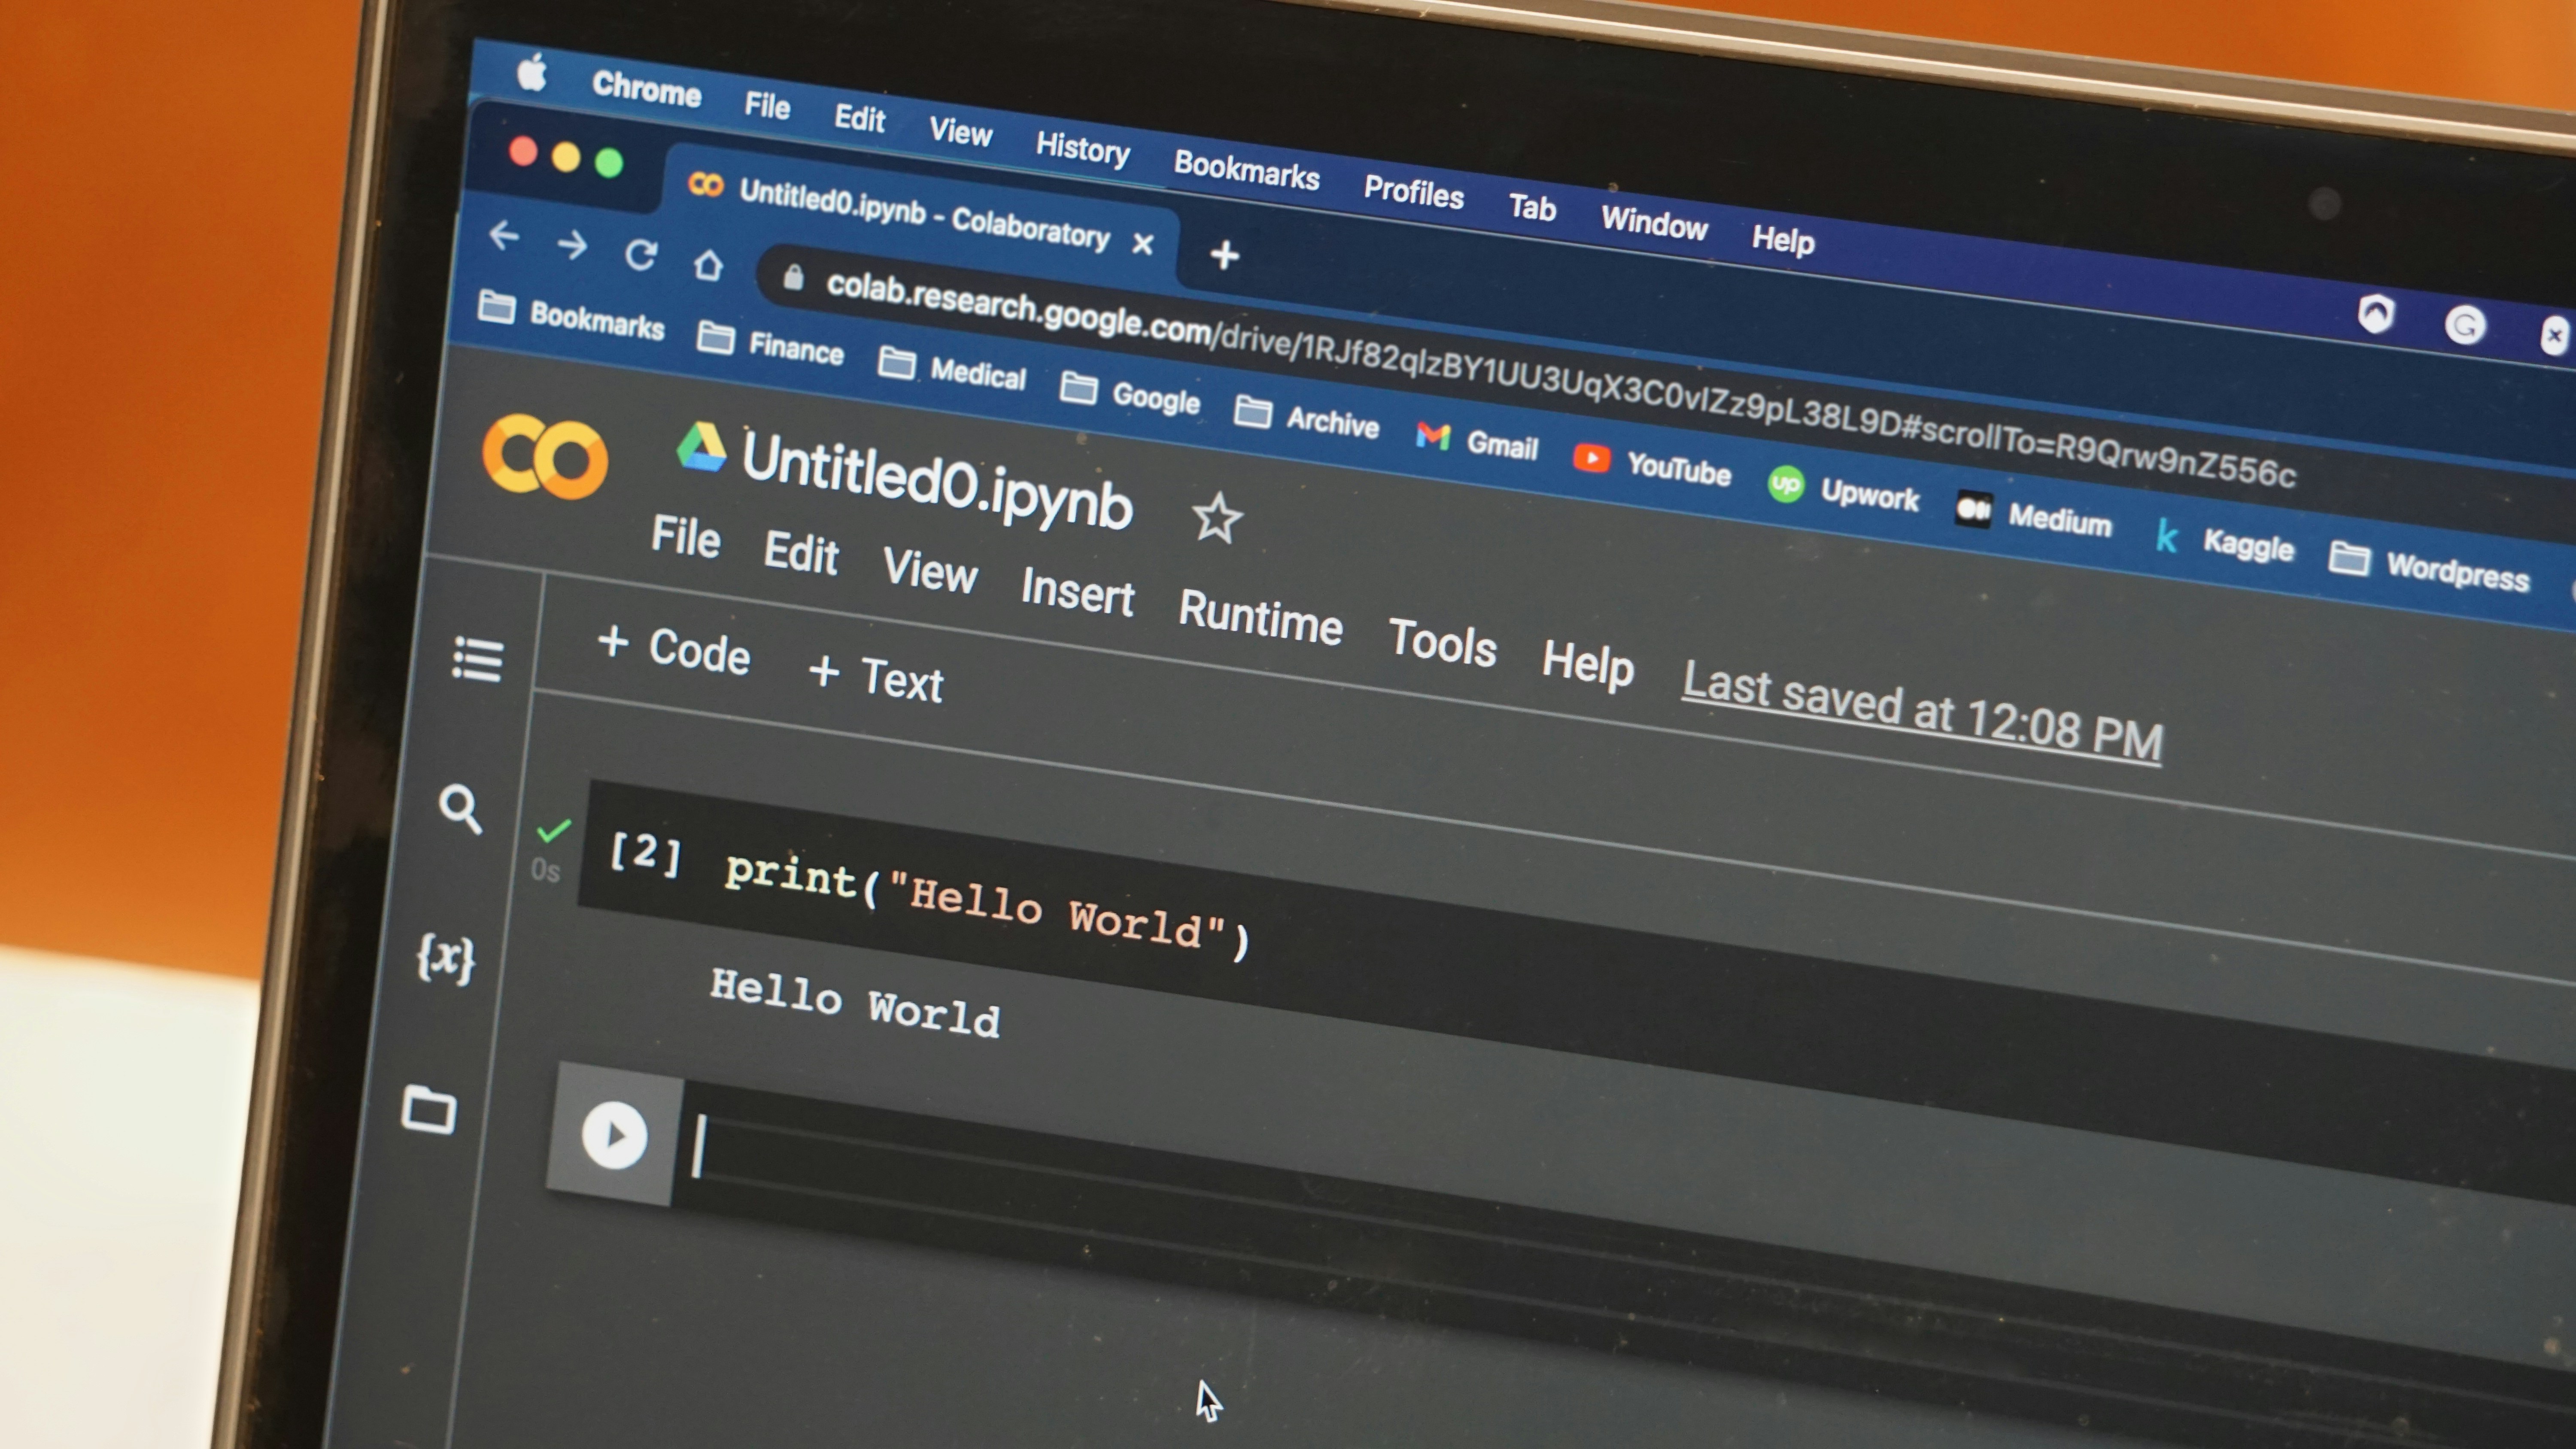
Once you have your generated script, break it into a Jupyter notebook for easier debugging:
automation.ipynb:
# Cell 1: Setup
import pyautogui
import time
import logging

logging.basicConfig(level=logging.INFO)
# Cell 2: Open Notepad
def open_notepad():
    logging.info("Opening Notepad")
    pyautogui.press('win')
    time.sleep(0.5)
    pyautogui.write('notepad')
    time.sleep(0.5)
    pyautogui.press('enter')
    time.sleep(2)

# Test this step
open_notepad()
# Cell 3: Type Message
def type_message(message):
    logging.info(f"Typing: {message}")
    pyautogui.click(450, 320)
    time.sleep(0.3)
    pyautogui.write(message)
    time.sleep(0.5)

# Test this step
type_message("Testing!")
# Cell 4: Close Notepad
def close_notepad():
    logging.info("Closing Notepad")
    pyautogui.hotkey('alt', 'f4')
    time.sleep(0.5)
    pyautogui.press('n')
    time.sleep(0.5)

# Test this step
close_notepad()
# Cell 5: Full Workflow
def main():
    open_notepad()
    type_message("Full automation test")
    close_notepad()

main()
Why Jupyter notebooks are perfect for RPA:
Step-by-step execution: Run one cell at a time to test each function individually
Easy replays: If step 3 fails, just re-run that cell without starting over
Visual feedback: See output and logs inline as you develop
Quick iterations: Modify a function and immediately re-test it
Documentation: Add markdown cells explaining what each step does
When debugging, you can:
This is infinitely faster than running the entire script from scratch after every change.
The LLM should always generate code that follows this principle, but double-check:
Bad approach:
def automate_task():
    open_application()
    enter_data()
    click_submit()
    # Done! (but application is still open)
Good approach:
def automate_task():
    # Clean state at start
    close_all_application_windows()
    time.sleep(1)

    try:
        open_application()
        enter_data()
        click_submit()
    finally:
        # Always clean up, even if something fails
        close_all_application_windows()
        time.sleep(1)
Why this matters:
Enhance your recorder to capture which window was active:
import win32gui

def get_active_window():
    """Get the title of the active window"""
    try:
        window = win32gui.GetForegroundWindow()
        return win32gui.GetWindowText(window)
    except:
        return "Unknown"

# In your recorder
action['window'] = get_active_window()
This helps the LLM understand context: "User clicked in the 'Customer Entry' window at (450, 320)" is more useful than just coordinates.
Capture how long you naturally waited between actions:
# In your actions list
if len(self.actions) > 0:
    last_timestamp = self.actions[-1]['timestamp']
    wait_time = elapsed - last_timestamp

    # If you waited more than 2 seconds, it's probably intentional
    if wait_time > 2.0:
        self.actions.append({
            'type': 'wait',
            'duration': wait_time,
            'timestamp': elapsed,
            'label': 'Waiting for application to load'
        })
Save a screenshot with each click to help with labeling later:
import pyautogui
from PIL import Image

def on_click(self, x, y, button, pressed):
    if not self.recording or not pressed:
        return

    # Take screenshot
    screenshot = pyautogui.screenshot()
    screenshot_path = f"screenshots/click_{len(self.actions)}.png"
    screenshot.save(screenshot_path)

    # Add to action
    self.actions.append({
        'type': 'click',
        'x': x,
        'y': y,
        'button': str(button),
        'screenshot': screenshot_path,
        'label': ''
    })
When labeling, you can see what was on screen when you clicked.
Let's put it all together with a realistic example: automating data entry in an old CRM.
Step 1: Record the task
python recorder.py
# Press F9, perform your task, press F9 again
Step 2: Label the recording
python labeler.py my_recording.json
You label each action:
Step 3: Generate Python script
python generate_script.py my_recording_labeled.json
Claude produces a script with functions like:
open_crm()enter_customer_data(name, address)save_customer()close_crm()Step 4: Create Jupyter notebook
Copy the generated script into cells, one function per cell.
Step 5: Debug step-by-step
Run each cell individually, adjusting timing and coordinates as needed.
Step 6: Export final script
Once everything works, export as a standalone Python file.
Step 7: Add to your automation library
Now you have a reusable script for CRM data entry.
Keep it simple: Record one workflow at a time. Don't try to capture everything in one recording.
Go slow: When recording, perform actions slightly slower than normal. This gives better timing data.
Minimize mouse clicks: If you can navigate with keyboard, do it. The recording will translate better to code.
Pause between steps: Give the LLM clear boundaries between logical steps.
Record multiple times: If the first recording is messy, just record again. It's quick.
Label immediately: Don't wait days to label. Do it right after recording while fresh in your mind.
Problem: Generated script has wrong coordinates
Solution: Your display scaling might be off. Check Windows display settings and re-record, or manually adjust coordinates in the generated script.
Problem: Script runs too fast
Solution: Increase delays in Jupyter, find the right timing, then update the script.
Problem: Actions grouped incorrectly
Solution: Add more descriptive labels. Instead of "Click button", say "Click the Save button in the customer dialog".
Problem: LLM generates overly complex code
Solution: Simplify your prompt. Ask for "simple, readable code" and specify you want basic pyautogui commands.
Recording keystrokes can capture sensitive information like passwords. Best practices:
This is for automating your own work, not monitoring others.
Recording first, then converting to code, flips the traditional RPA development process on its head. Instead of guessing at coordinates and timing while writing code, you perform the task once naturally, label what you did, and let AI turn it into a script.
The workflow:
This approach is faster, more accurate, and gives you a reference recording if you need to troubleshoot later. And with Jupyter notebooks, you can replay and debug individual steps without running the entire automation from scratch each time.
Stop writing RPA scripts by hand. Record them, label them, and let AI do the translation.